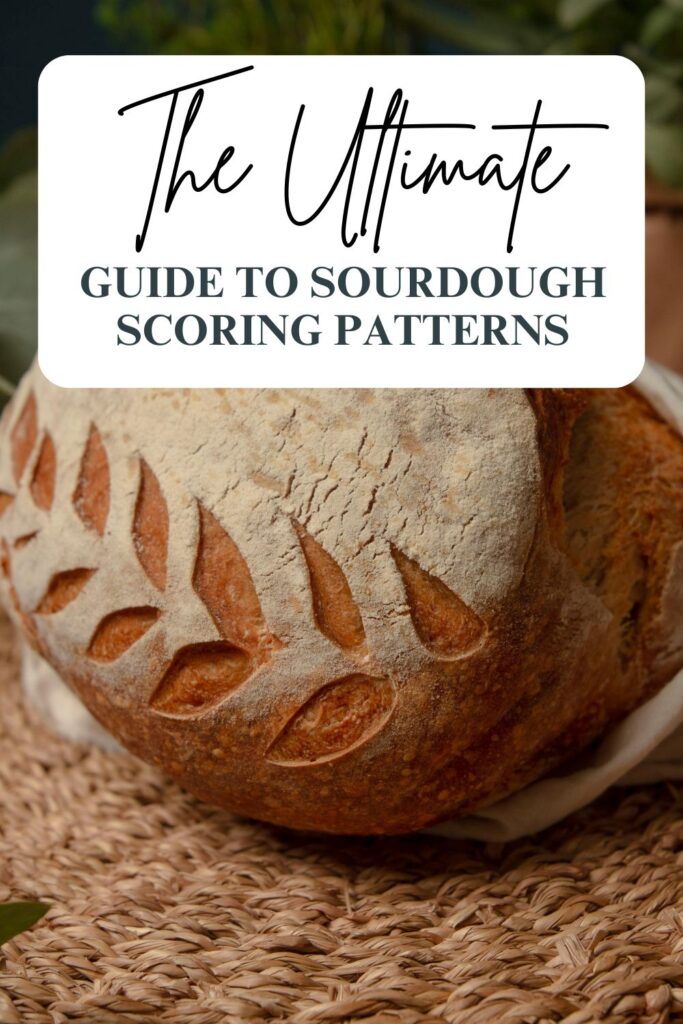
Mastering Sourdough Scoring Patterns: A Beautiful Blend of Art and Function
There’s something truly magical about pulling a fresh loaf of sourdough out of the oven. The crackle of the crust, the rich aroma of fermented dough, and—if you’ve scored it just right—the beautiful design that’s bloomed on top like artwork. Scoring your sourdough isn’t just a way to make your bread pretty (though it is stunning); it’s actually a vital part of the baking process.
Don’t lose this article – pin it to Pinterest!
Affiliate links may be used in this post and if so I will receive a commission at no extra cost to you. I’m also part of the Amazon Affiliate (Associate) program where I earn a commission from sales made through my affiliate links. Find my full disclosure policy by clicking here.
In this guide, we’ll explore:
- What sourdough scoring is and why it matters
- Tools and techniques
- Tips for getting cleaner cuts
- 10+ beautiful scoring pattern ideas
- Mistakes to avoid
- FAQs for beginner bakers
Let’s get into it!
More Recipes:

What Is Sourdough Scoring?
Visit Lisa Bass’s Farmhouse on Boone channel for all things sourdough!
Sourdough scoring is the act of slashing or cutting the top of your proofed dough with a sharp blade—usually just before it goes into the oven. These cuts allow gases to escape as the bread rises rapidly in the heat (aka “oven spring”).
Without scoring, your loaf will often burst at the weakest spot, leading to wild cracks and unpredictable results. A well-placed score creates a controlled rise and gives you the opportunity to turn your sourdough into a canvas.
Why Is Scoring Important?
Scoring plays two key roles:
1. Functionality
It’s essential for controlling how your bread expands. Think of scoring like giving the bread “vents” to release pressure. Strategic cuts allow the loaf to expand where you want it to, resulting in a better texture and shape.
2. Aesthetics
Scoring also allows you to personalize each loaf. From rustic slashes to delicate leaf motifs and intricate flowers, the top of your bread can become a work of art.
The Best Tools for Scoring
You don’t need anything fancy, but the right tools do help. Here are a few options:
- Bread lame (pronounced “lahm”) – This is a curved razor blade attached to a handle. It gives you better control and cleaner, deeper cuts.
- Razor blade – A simple, sharp razor works well too. Just be cautious and hold it carefully.
- Sharp paring knife – This is an option in a pinch, but it won’t slice as cleanly through soft dough.
- Scissors – For dramatic, open scoring (like ear lifts or “cheeks”), a clean snip with scissors can do the trick.
Pro tip: Lightly oil your blade or lame to reduce drag and prevent sticking.
Tips for Better Scoring
Here are a few tried-and-true tricks to help your scoring look cleaner and give your loaf a better rise:
- Score chilled dough – Cold dough (straight from the fridge) is firmer and easier to cut cleanly.
- Hold the blade at an angle – Especially for deep “ear” scores, a 30–45 degree angle is ideal.
- Don’t overproof – If your dough is too bubbly and over-fermented, it won’t hold the score well.
- Be swift and confident – Hesitation can drag the blade and create jagged lines.
- Use the right depth – Main scores (for expansion) should be about ¼ to ½ inch deep. Decorative lines should be very shallow.
10 Beautiful Sourdough Scoring Pattern Ideas
Now to the fun part—creating patterns that turn heads! Here are some ideas, from simple to advanced.
1. The Single Slash (The “Ear”)
This is the classic sourdough look. One bold diagonal slash allows the loaf to bloom and lift dramatically.
- Best for: Bold oven spring and a professional look
- Pro tip: Use a curved lame at a 30° angle for a tall, proud “ear” lift.
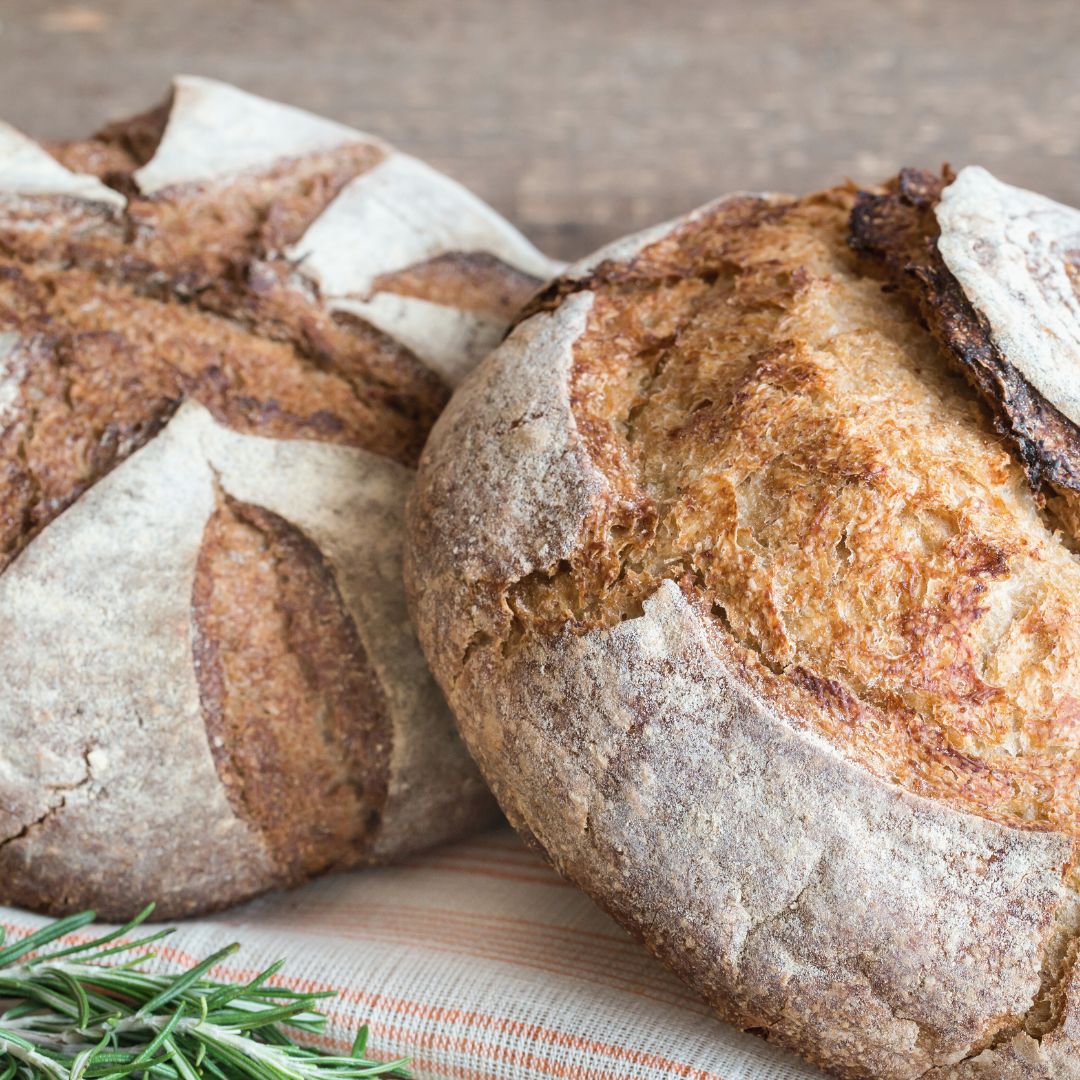
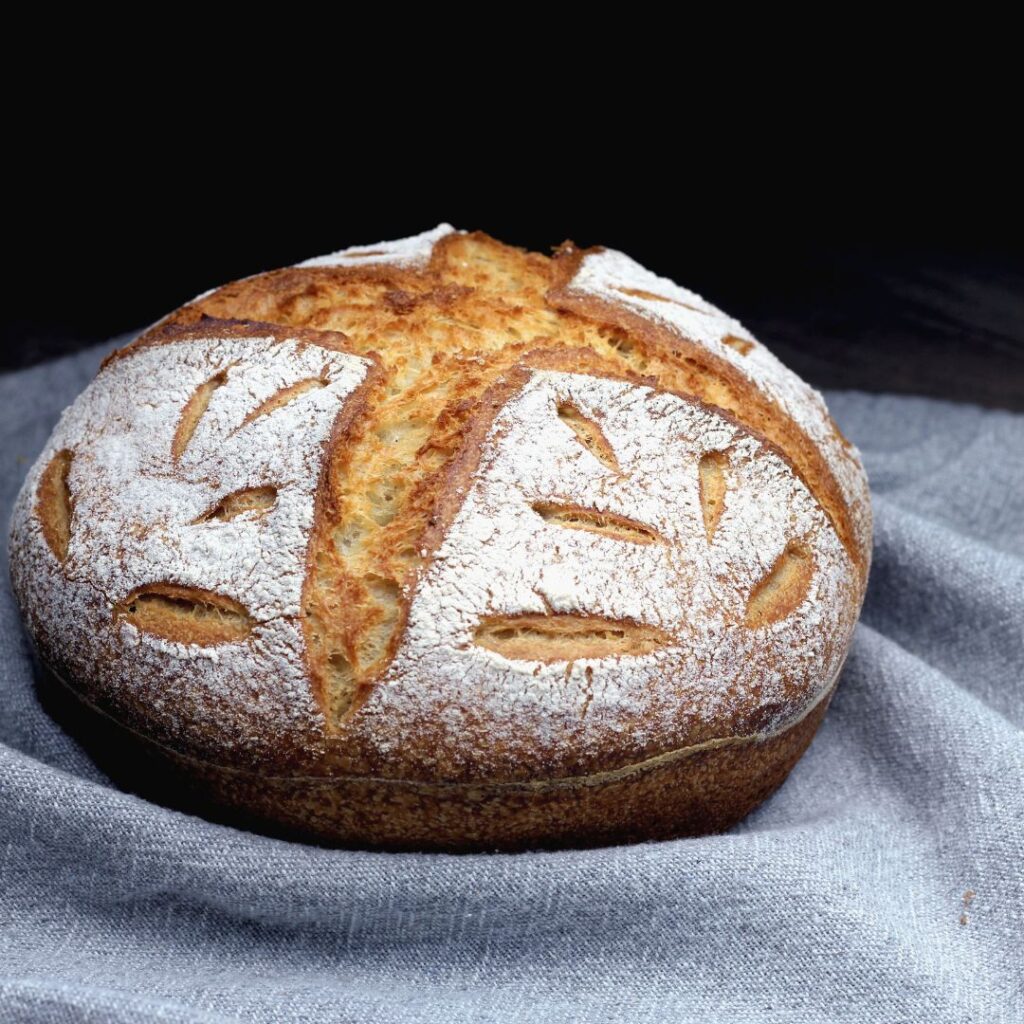
2. Cross or X Pattern
A simple yet rustic choice. Score one line across, then another to form an X.
- Best for: Boules (round loaves)
- Variation: Use wide, shallow cuts for a more decorative effect.
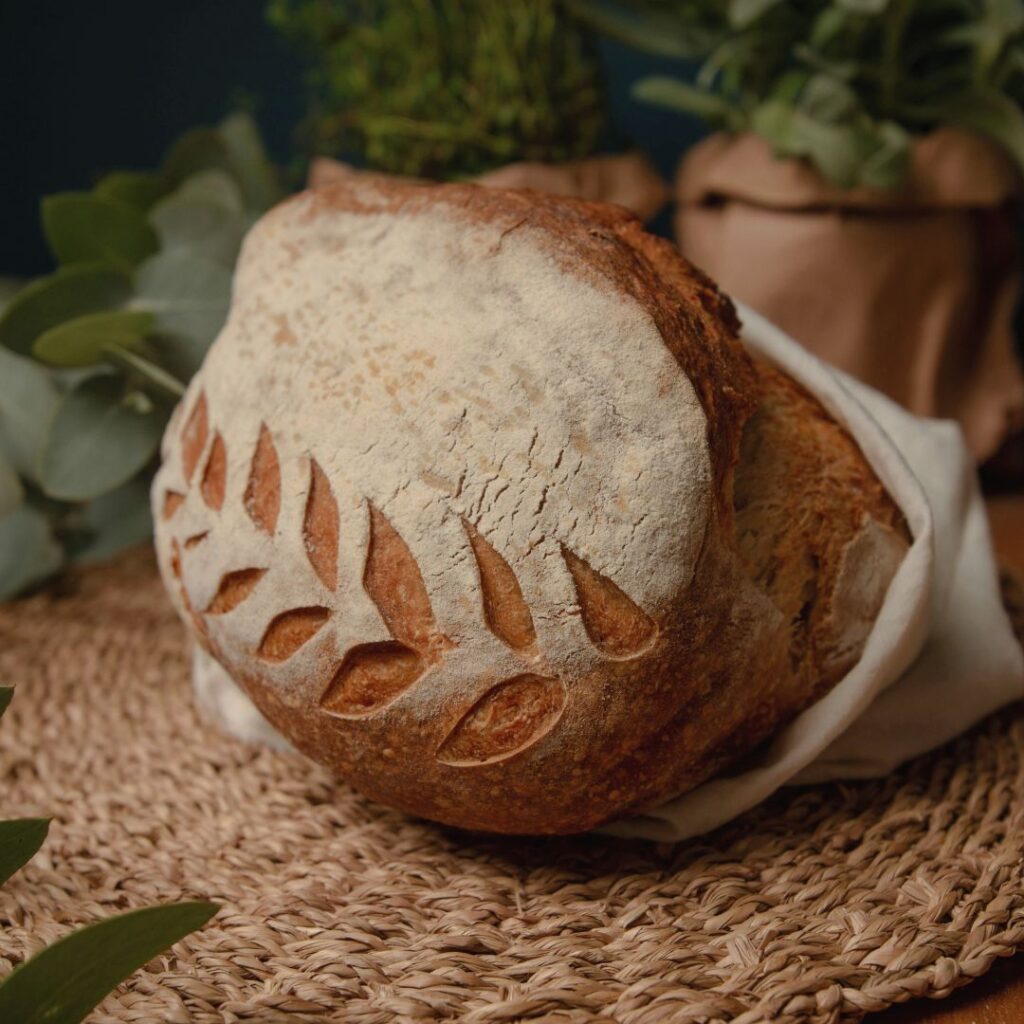
3. Wheat Stalks
This is a popular and elegant pattern. Start with a central stem and make small angled cuts on each side like leaves or grains.
- Best for: A rustic artisan look
- Tip: Keep the cuts shallow—this is more decorative than functional.
4. Leaf Motif
Start with a long slash down the center or slightly off-center. Then create symmetrical curved cuts off both sides to mimic leaves.
- Best for: Show-stopping designs
- Optional: Add fine detailing with a paring knife or razor for veins.
5. Starburst or Sun Pattern
Score a small circle in the center and add radiating lines around it like sunbeams.
- Best for: Boules or festive occasions
- Bonus idea: Dust with flour before scoring for contrast.
6. Flour-Dusted Stencil + Simple Slash
Use a stencil and flour to create a design (like a fern or floral shape), then do one bold score for rise. The contrast is stunning.
- Best for: Instagram-worthy bakes
- Tip: Apply flour before scoring to avoid smudging.
7. Scallop or Crescent Cuts
Make overlapping half-moon shapes along one edge of the dough.
- Best for: A whimsical, playful vibe
- This style pairs well with oval loaves.
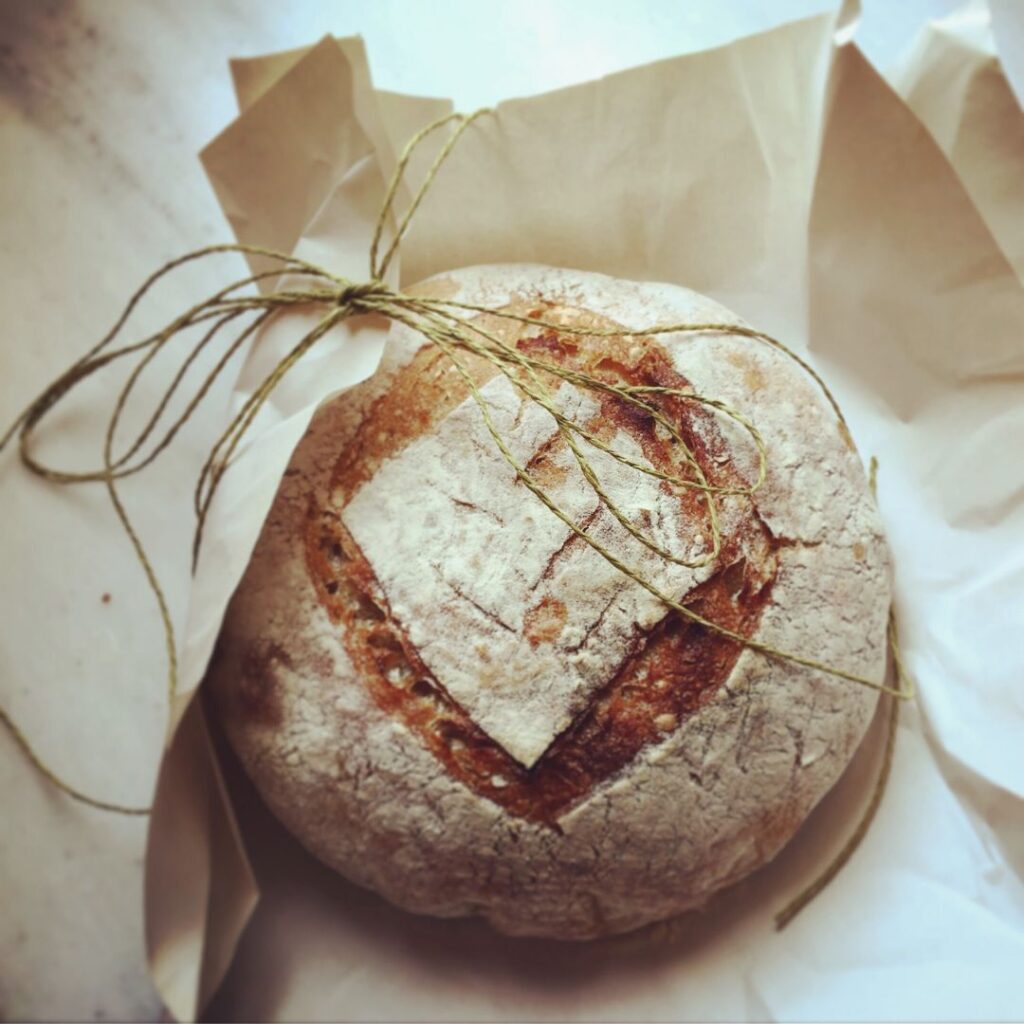
8. Decorative Lattice
Score horizontal and vertical lines in a grid or diamond pattern.
- Best for: Flat, wide loaves with minimal rise
- Be gentle—this is purely decorative.
9. Feather Pattern
Create one long vertical line, then flick tiny lines off one side, like feathers or a quill.
- Best for: Practicing finer control
- Tip: Great for stiffer doughs or colder loaves.
10. Nature-Inspired (Flowers, Trees, Ferns)
Use your lame like a drawing tool. Carve out flower petals, trees, or even mountain ranges with shallow cuts.
- Best for: Celebration loaves or gifts
- Try sketching your design beforehand on parchment.
Common Scoring Mistakes (And How to Fix Them)
Mistake 1: Dough deflates after scoring
- Fix: It was likely over-proofed. Try shortening your final proof next time.
Mistake 2: Blade sticks or drags
- Fix: Lightly oil your blade or chill the dough more.
Mistake 3: The loaf didn’t bloom
- Fix: Your score may have been too shallow. Make sure you’re going at least ¼ inch deep for the primary slash.
Mistake 4: Ragged or rough edges
- Fix: Make one quick, clean motion. Practice helps!
Sourdough Scoring FAQ
Q: When should I score the dough—before or after final proof?
A: Right after the final proof, just before baking. Most bakers do a cold proof in the fridge and score the cold dough for best results.
Q: Should I flour the top before scoring?
A: That’s up to you! A light dusting helps the pattern stand out, especially if you want contrast. Too much flour, though, can make it hard to see fine details.
Q: What type of dough works best for decorative scoring?
A: A stiffer dough holds detailed cuts better. High-hydration doughs can slump or spread more easily.
Q: Do I need a lame, or can I use a knife?
A: A lame gives the cleanest cuts, but a razor blade or very sharp knife works too. Avoid serrated blades—they tear instead of slice.
Final Thoughts: Turn Your Bread Into Art
Sourdough scoring is one of those beautiful intersections of function and creativity. It can be practical, whimsical, rustic, or elegant—all depending on your mood. And like everything with sourdough, it’s a process of trial, error, and joy. Your first scores might not be perfect, but every loaf gives you a fresh chance to experiment and improve.
So grab your lame, dust your loaf, and give it a little personality. It’s more than just bread—it’s your bread.
Pin it!